
Week 3

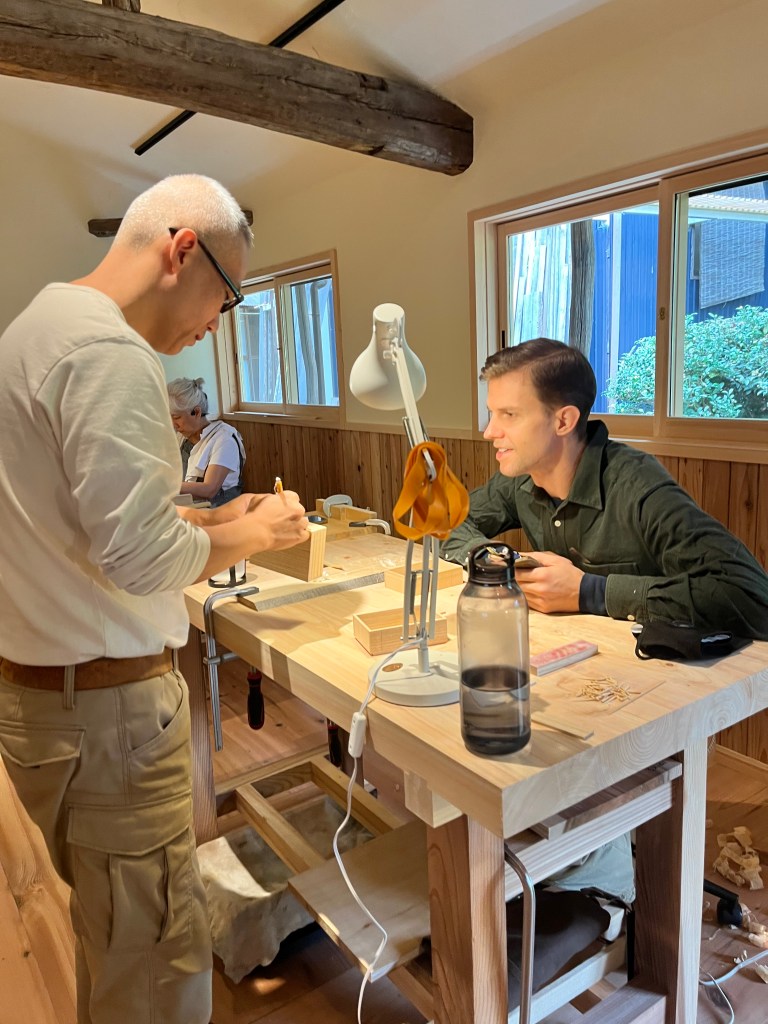
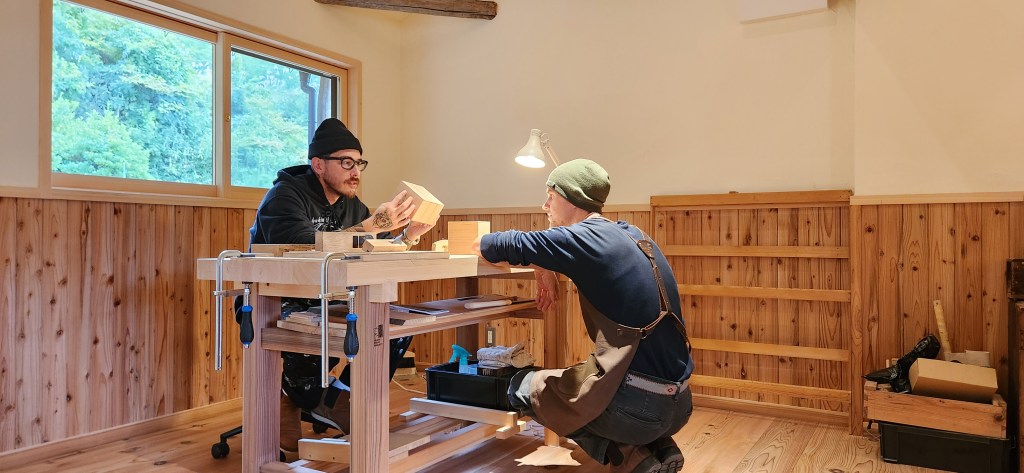
At this point in the apprenticeship, we have learned some of the foundational skills for woodworking in general; how to sharpen almost any blade, mark and follow a reference line, saw by hand, and plane pieces down (on a shooting board) to precise and perfectly square dimensions. While most of this can be achieved on modern machines in a fraction of the time, I can’t describe how empowering it is to learn how to do all of this with my own two bare hands, and the precision I can achieve with finely tuned hand tools far exceeds that of power tools. While I have nothing against modern machines and fusion-style woodworking, I think any woodworker would agree that going back to the basics and learning to do everything from scratch and by hand—learning the traditional way, in other words—is always going to enrich ones relationship to the craft in a way that using power tools and machines will never achieve. As far as I am experiencing in this program, using properly prepared hand tools is providing a deeper dialogue between myself, the tools, and the craft.
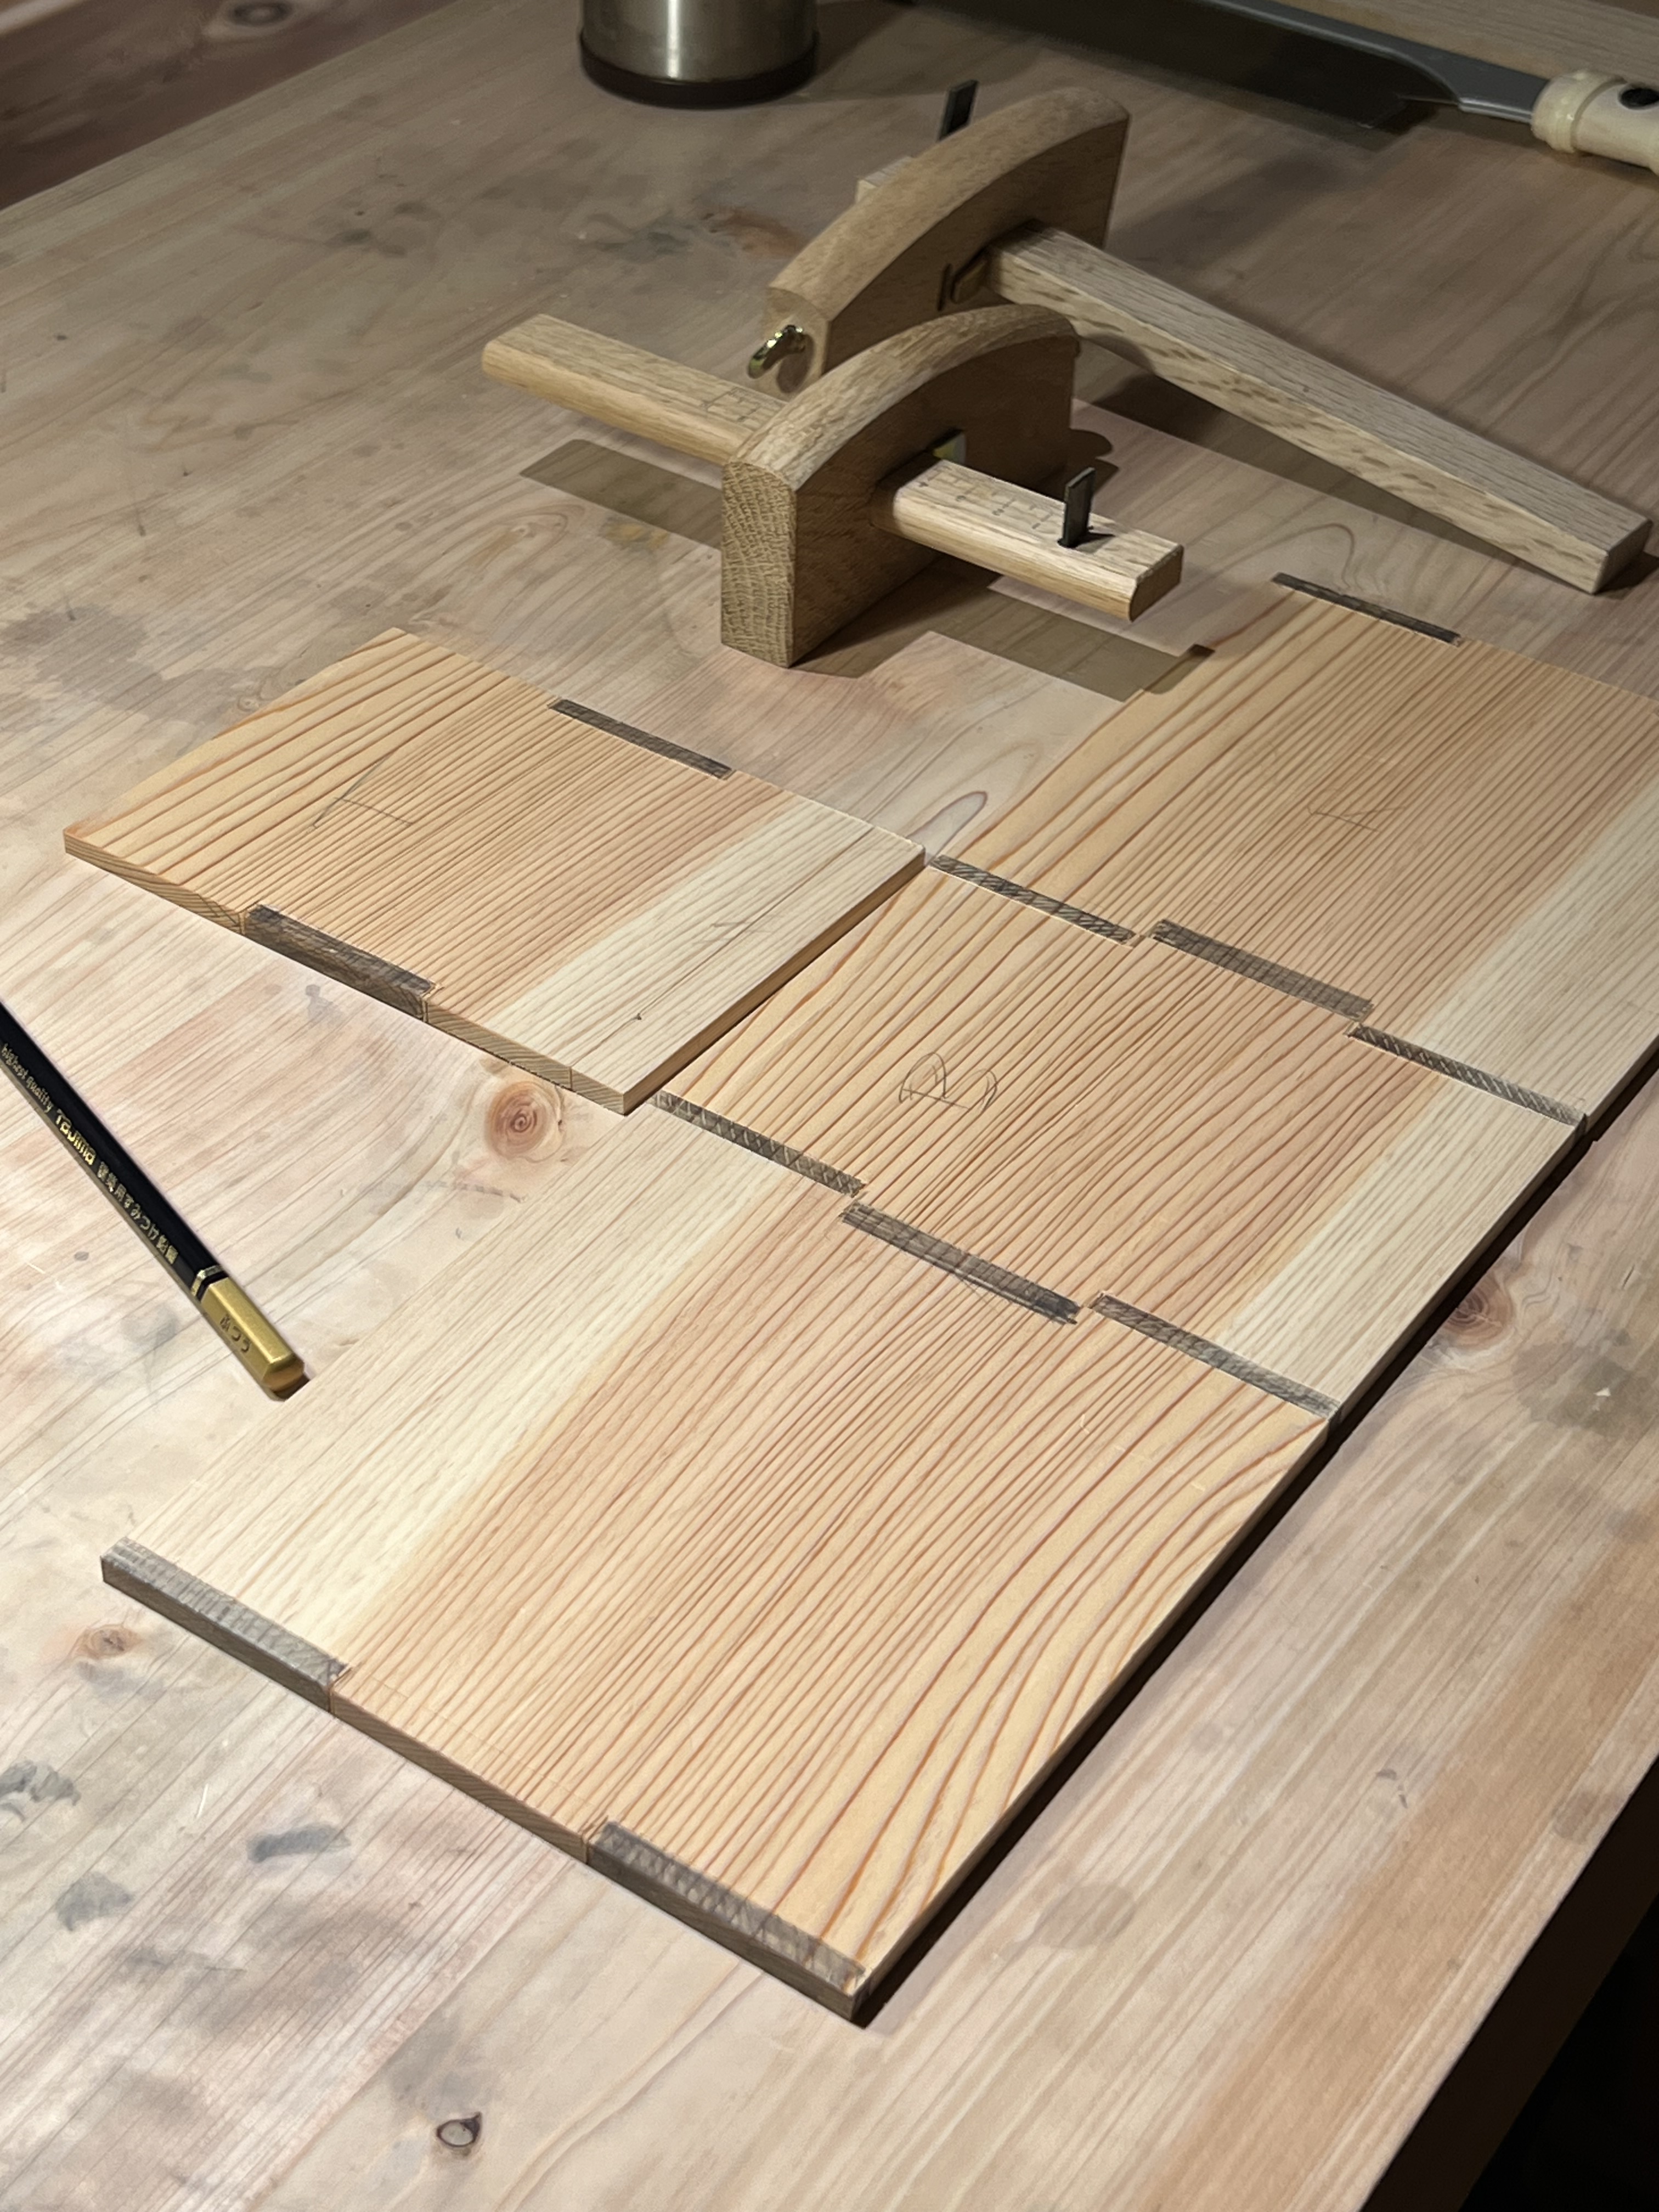
So far, we’ve assembled the interior components of our sashimono project using all of our finely sharpened and honed tools, rice glue, and wooden pegs. I’ve also applied a couple of layers of urushi by this time and I’m astonished by the strength and beauty of these natural elements. But we haven’t cut any joints yet, and because they are going to be such an important and aesthetic feature of our project, we needed to practice on some scrap pieces first!
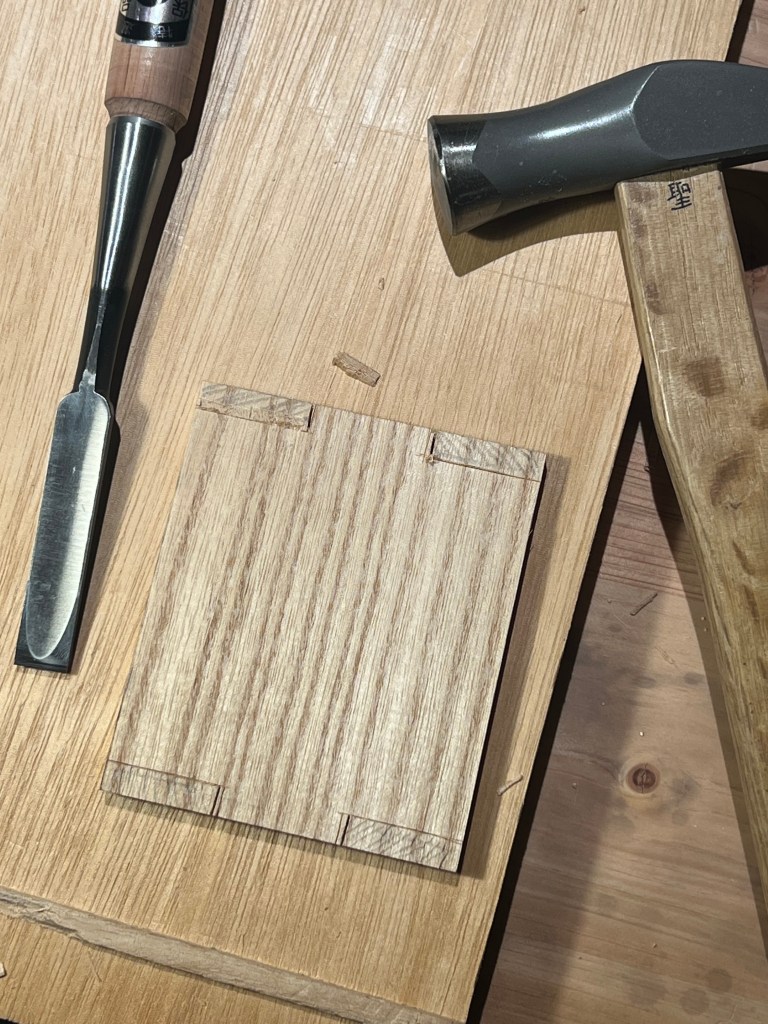
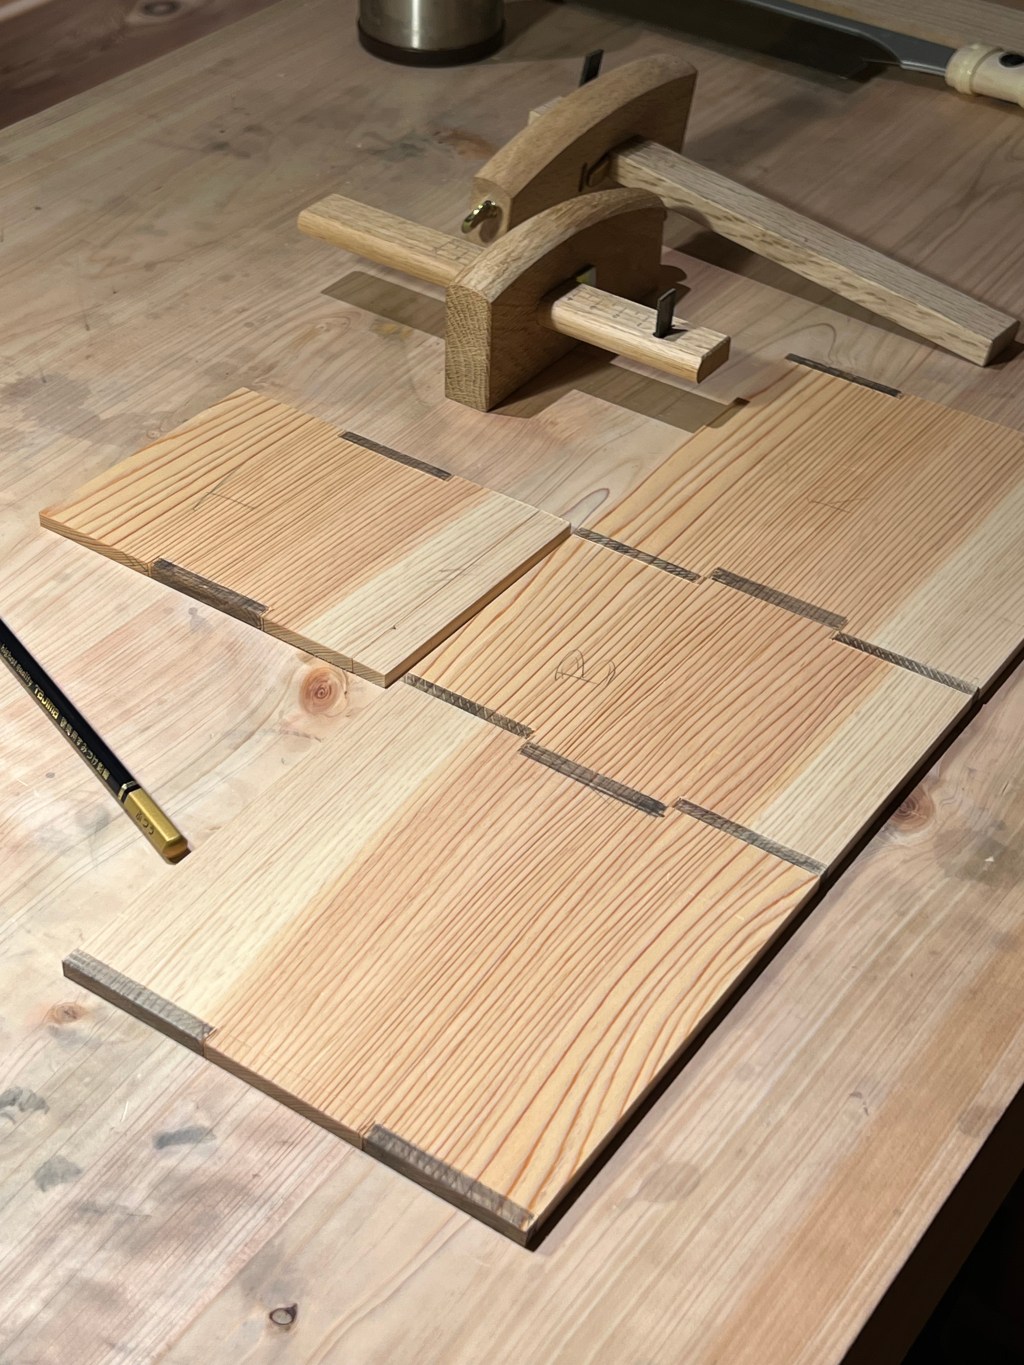
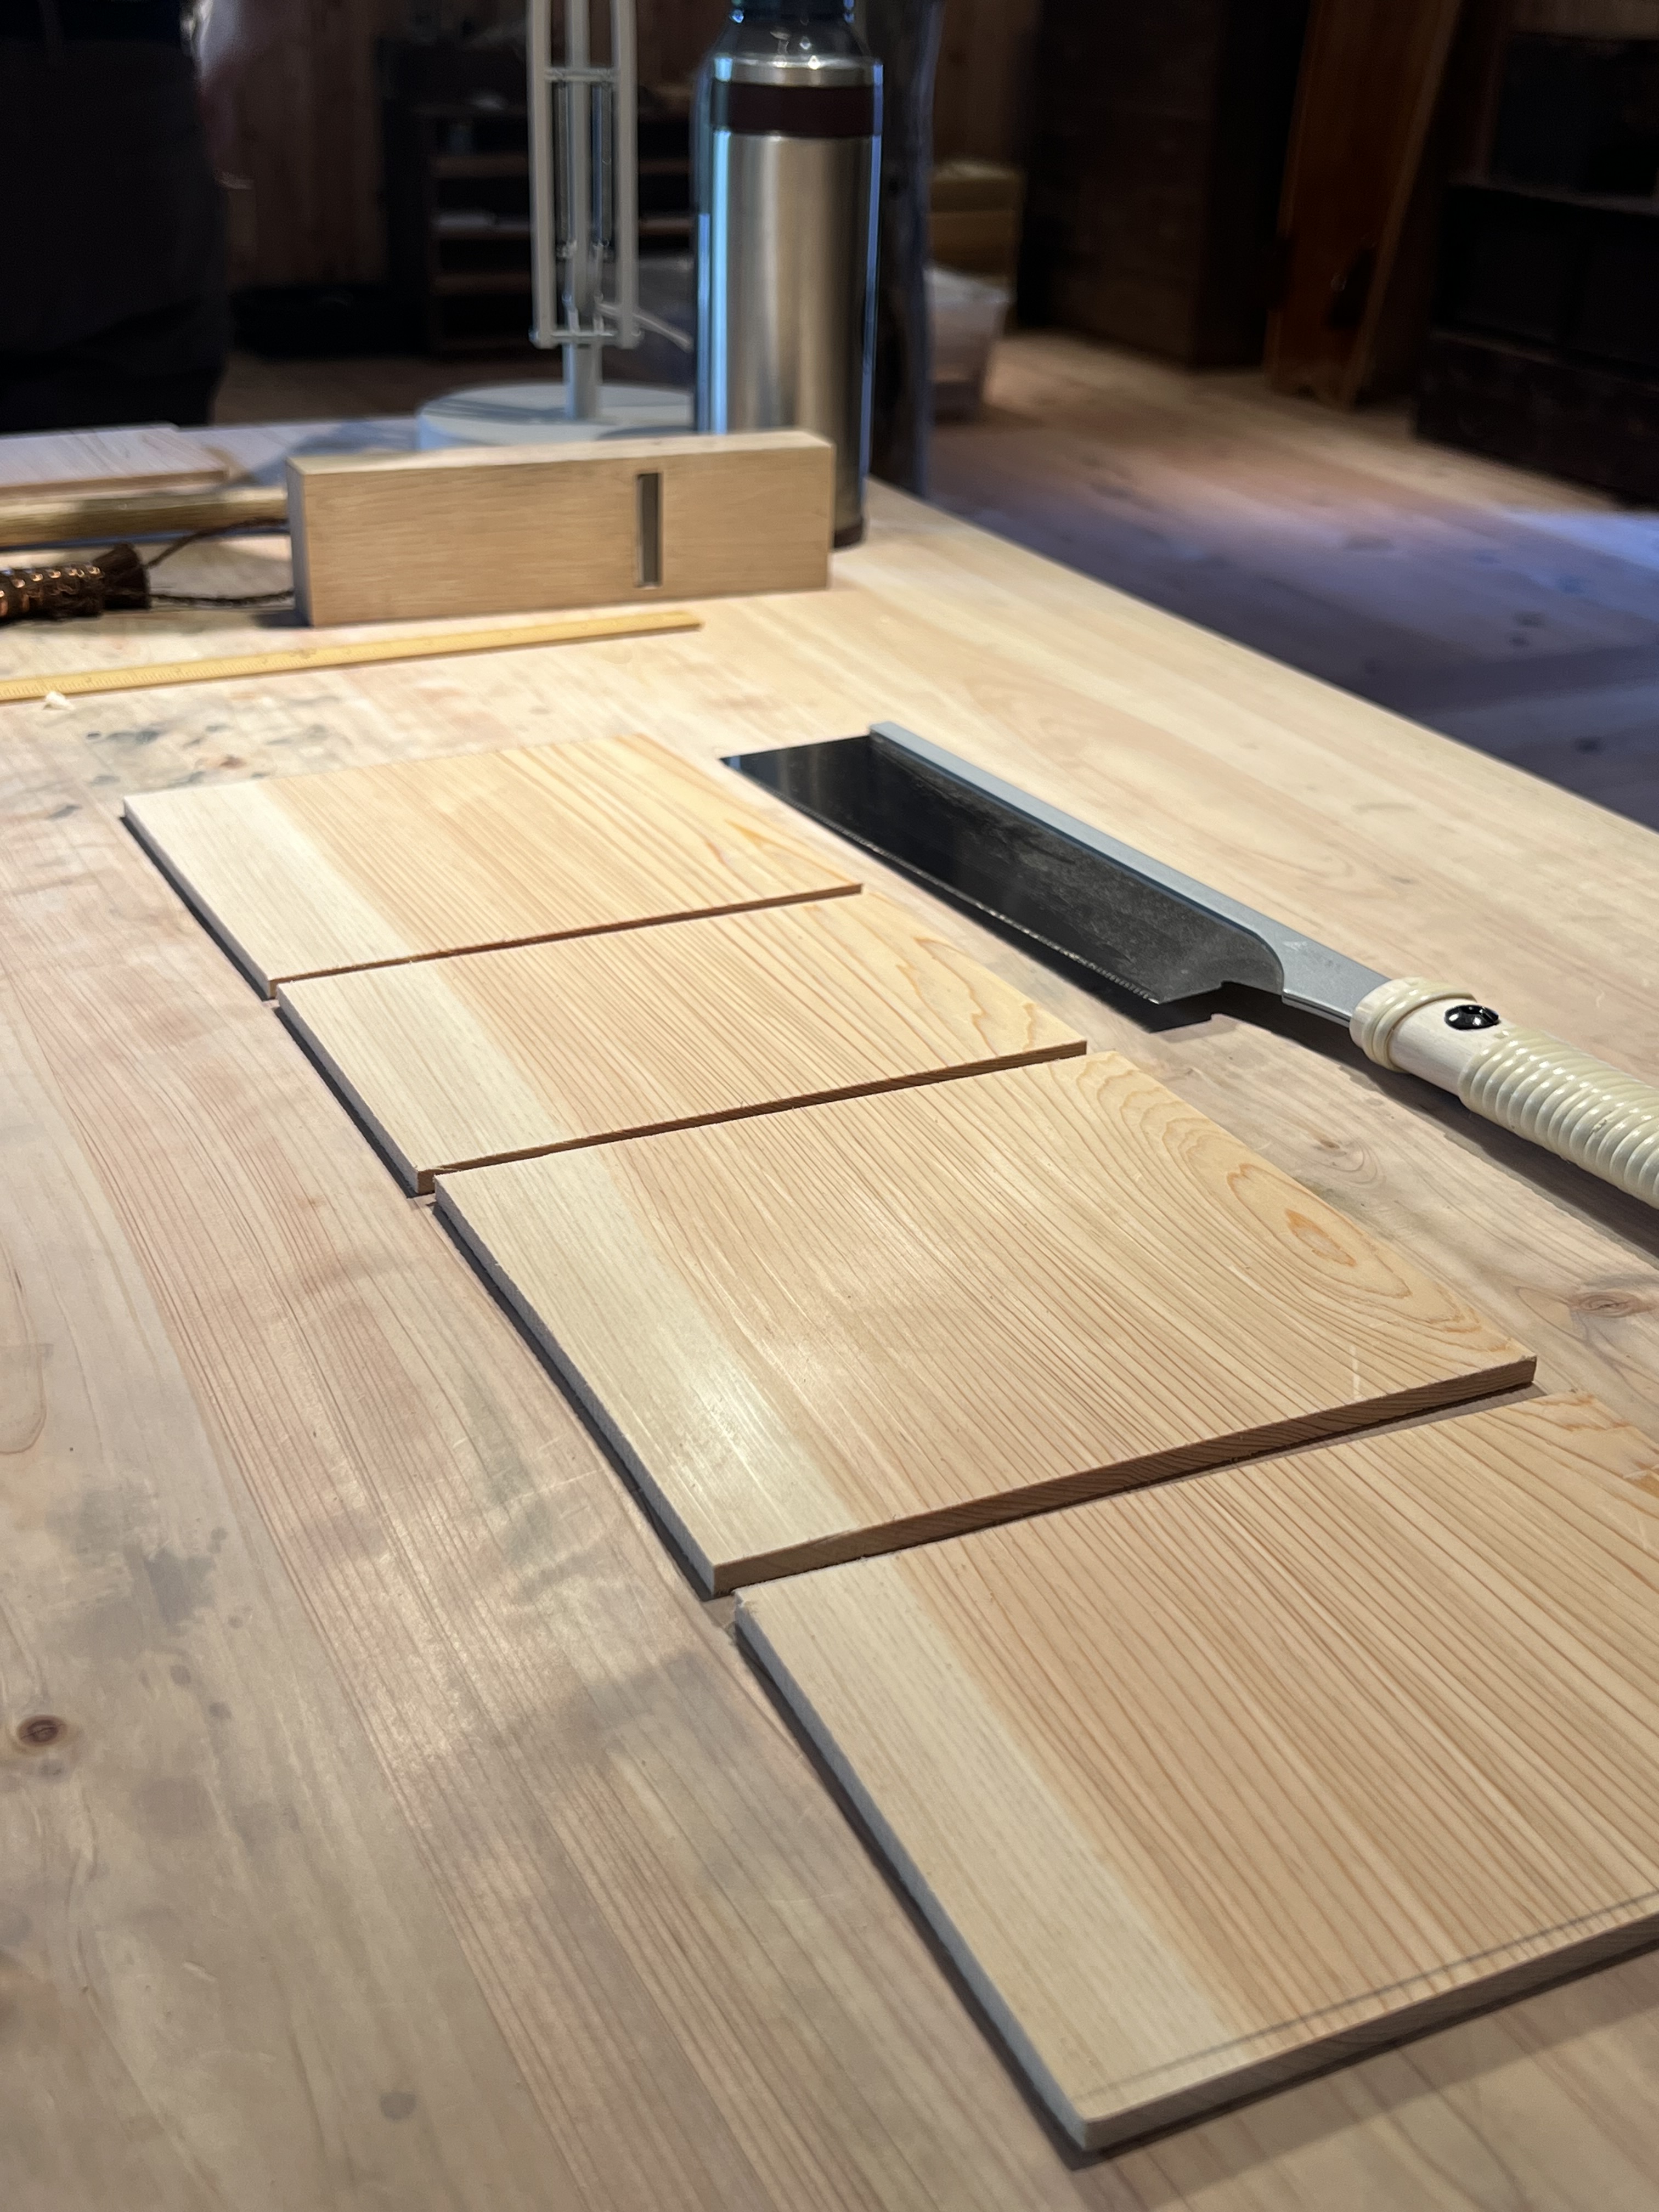
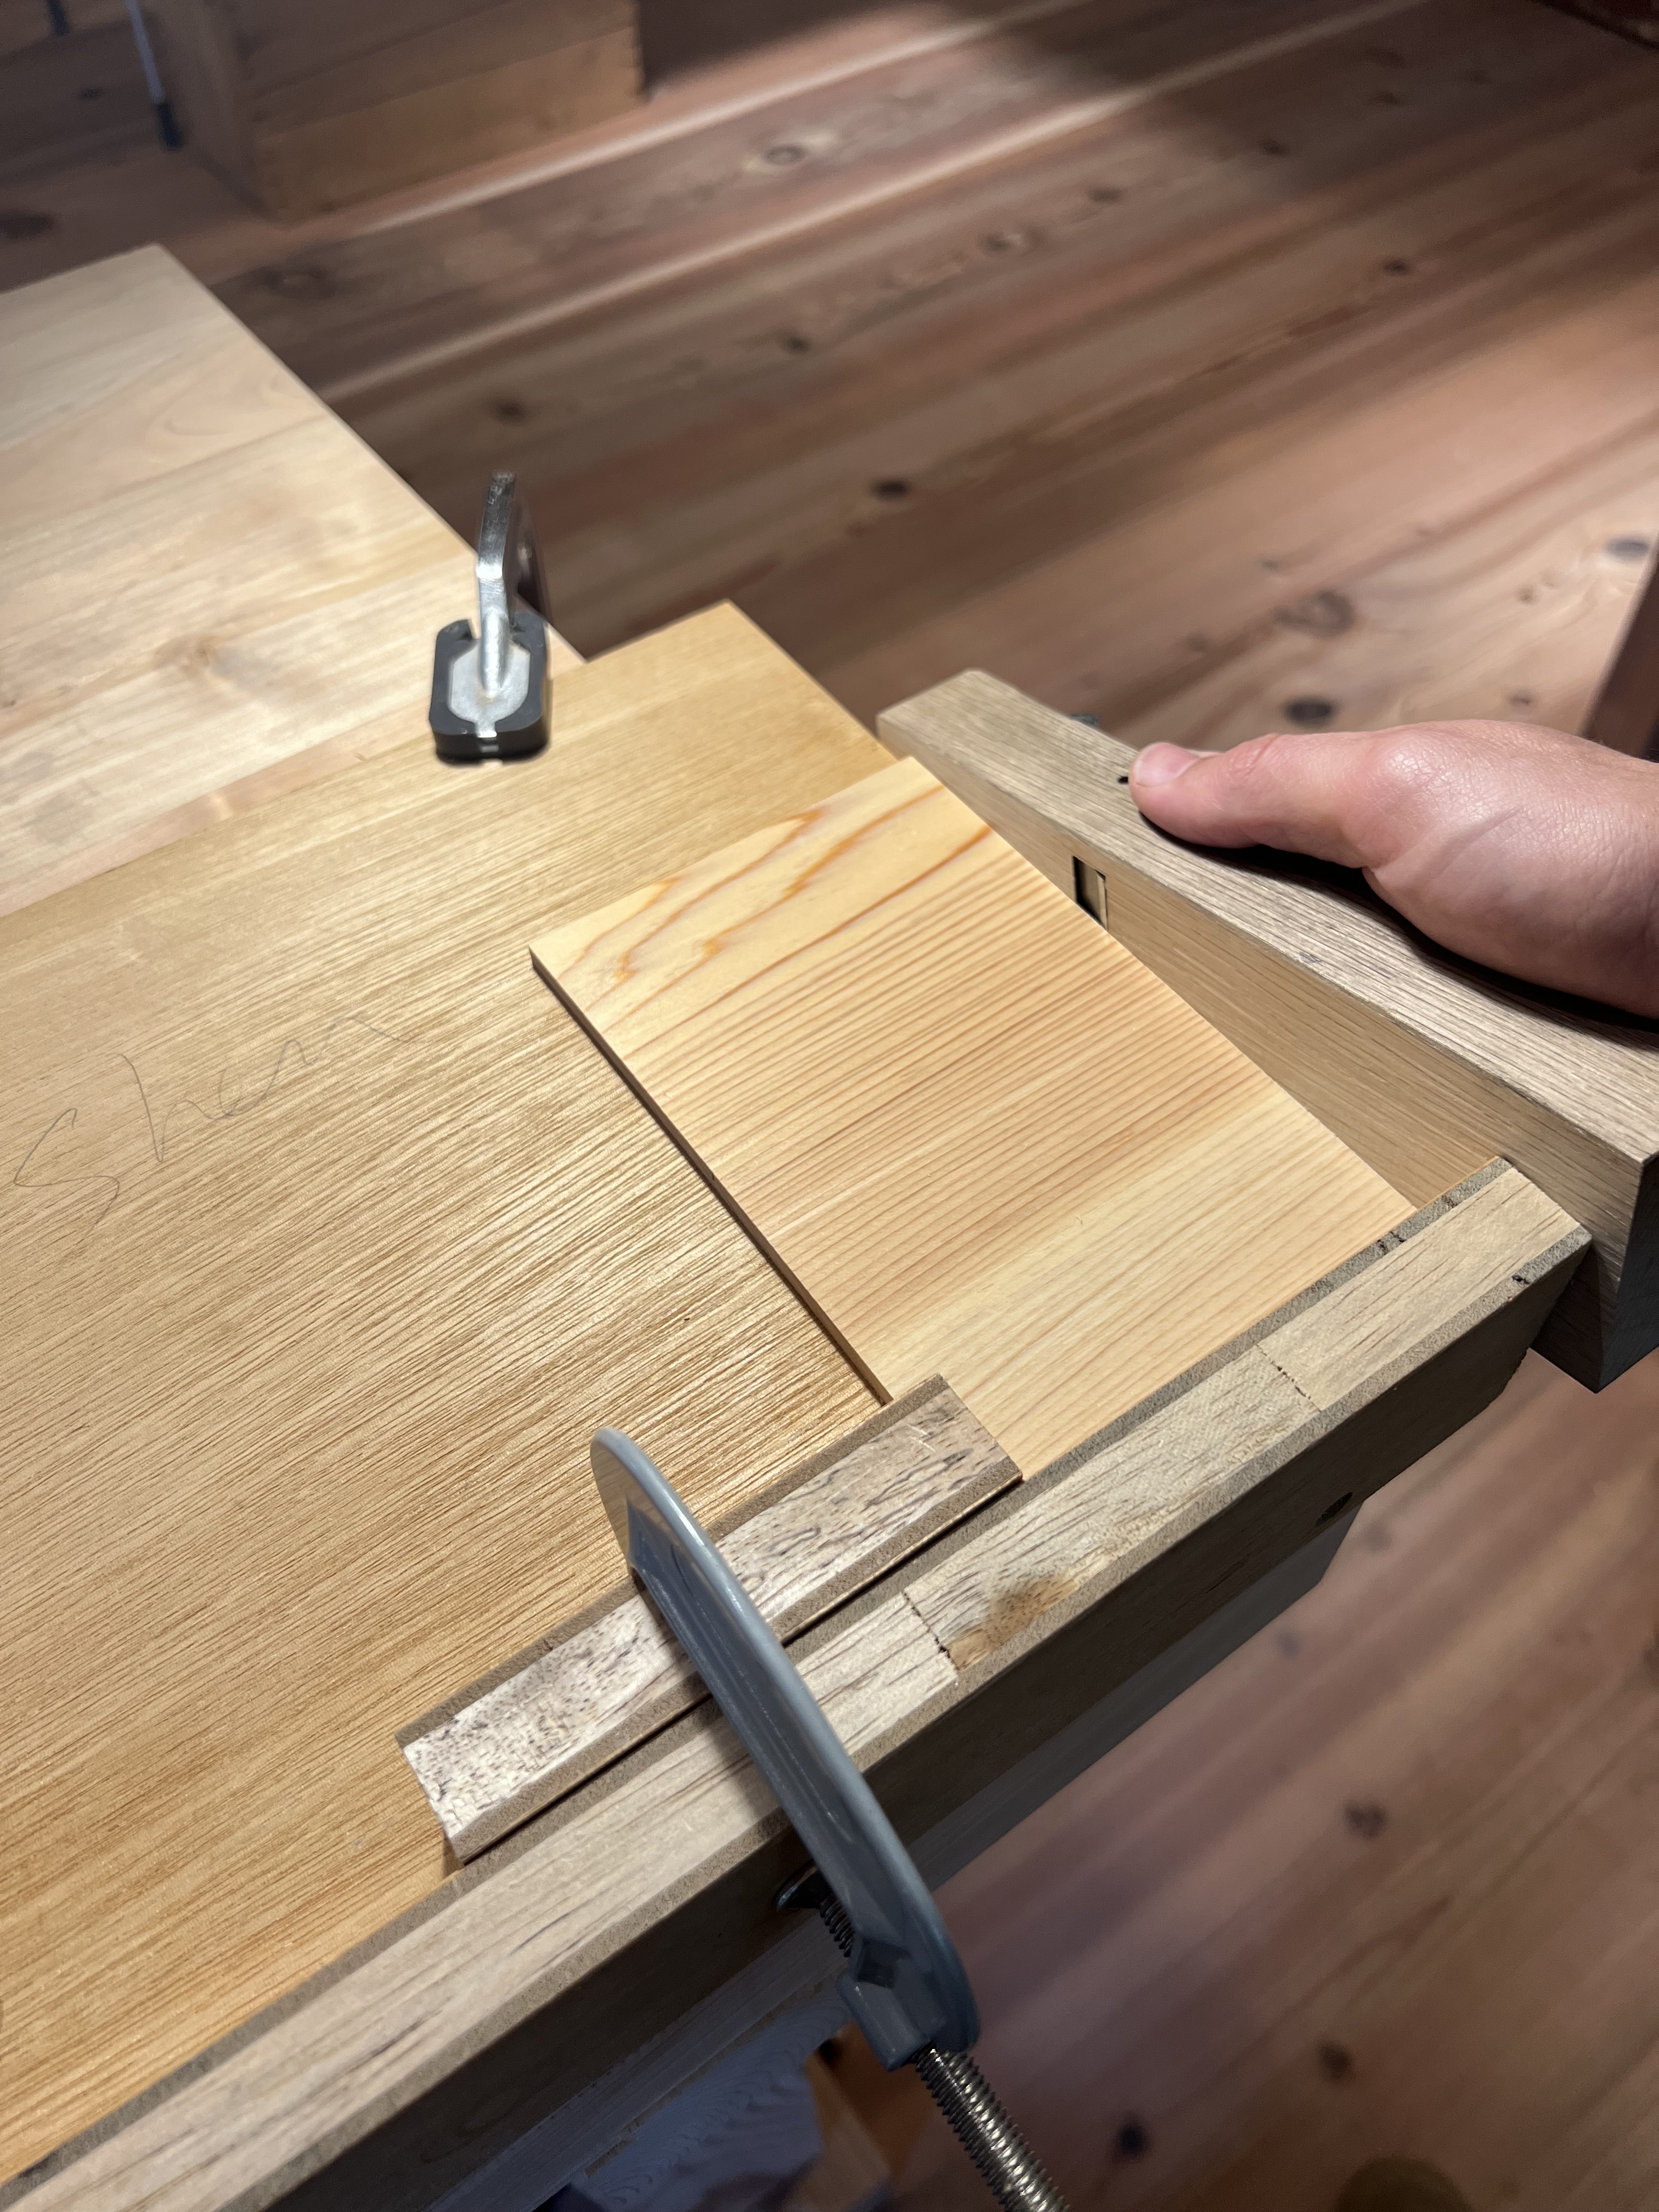
I was surprised to learn how these joints are cut by hand. One tool in particular, the marking gauge, is used in a way I’ve never seen before. I always considered the marking gauge a tool for marking reference lines only, but we are almost using it like a saw to cut an extremely accurately mortise and tenon. Because we sharpened the blade properly, we can cut the fibers of the wood by making multiple passes with the marking gauge. And in combination with our chisel and hammer, we make quick and accurate work of cutting these joints. And because the woods we are using are relatively thin and soft, this technique works perfectly. Even though my joints in the pictures above are rather rough, it taught me the general technique. Now it’s time to work on the real pieces for the project.
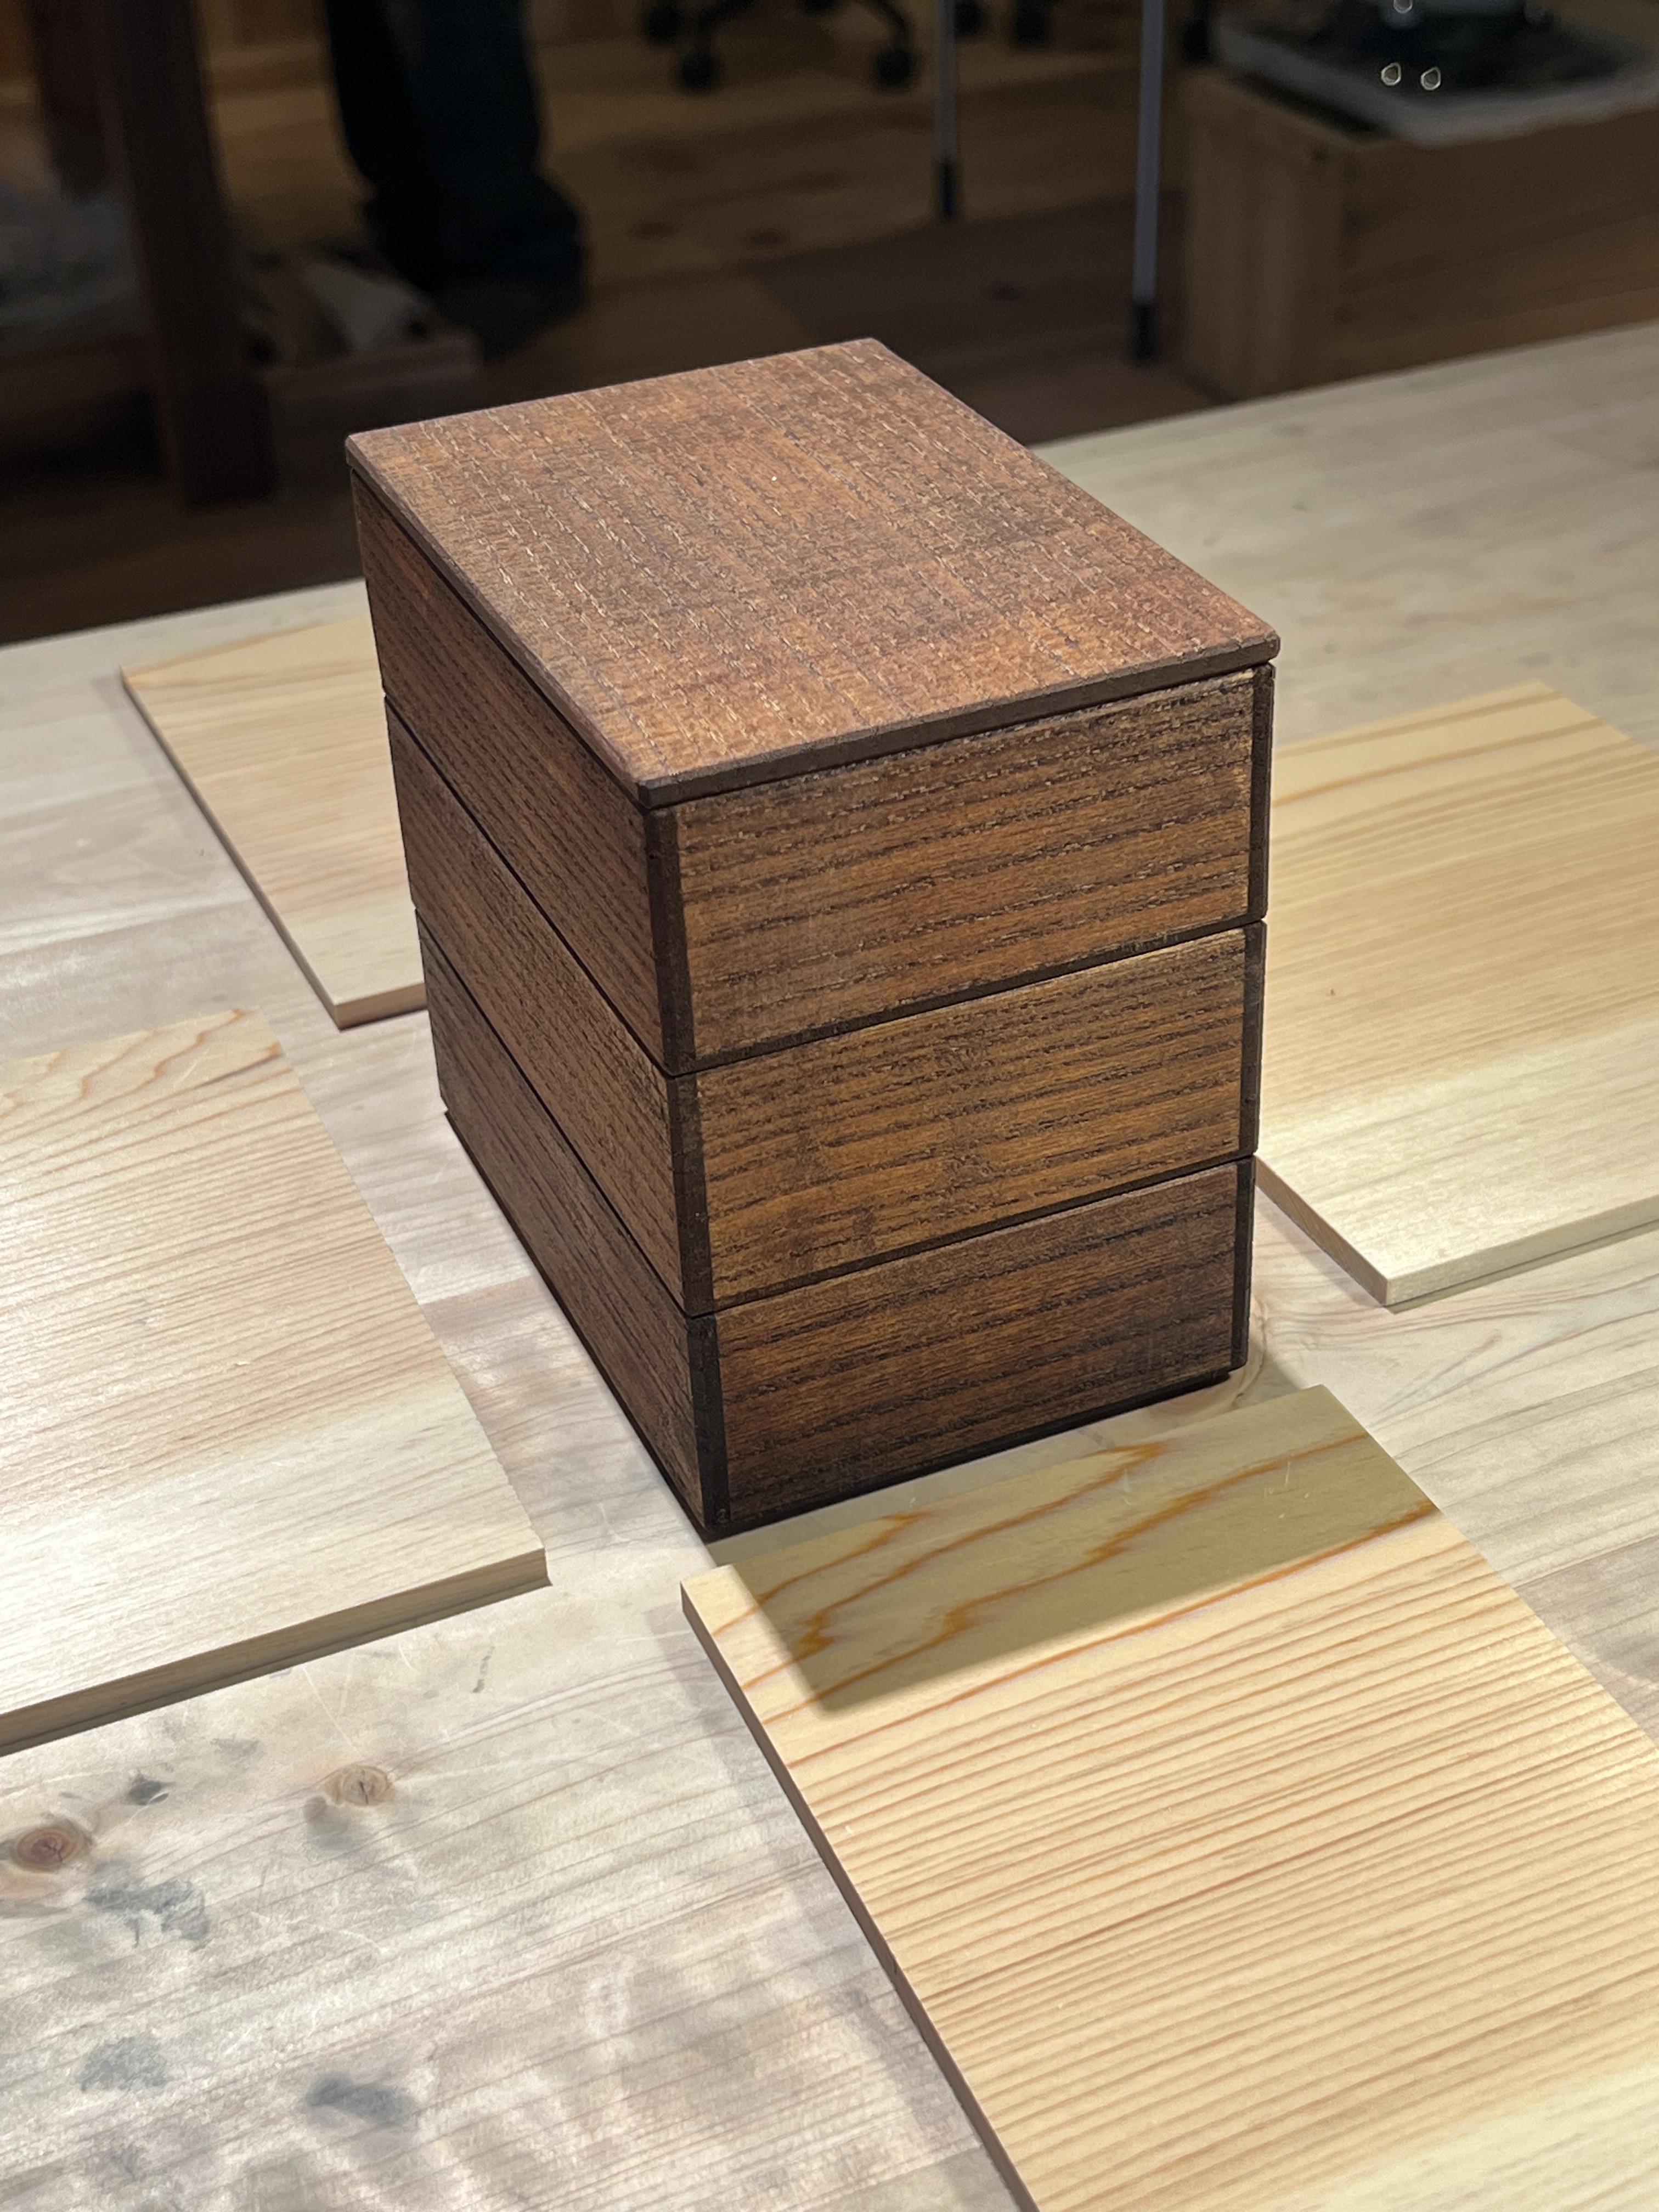


You might notice that the wood above is not Paulownia. Even though I said Paulownia wood is used most often in Kyoto-style sashimono, it’s not the only wood used. You can technically use any wood because sashimono is more of a joinery technique than it is the type of wood being used. The more we narrow things down by function (or location), the more specific we become in choosing the wood. So for example, especially in Kyoto, boxes made to store and protect valuable pieces of teaware are typically made of Paulownia wood, called kiribako. Sometimes the pieces are so valuable, they are stored in boxes within boxes within boxes. Sometimes they are lacquered but most often they are left raw and finished by hand planing or sanding. There are many variations in the lids and joints, shapes and sizes, but in general they all follow the principles of sashimono joinery: precise, tight fitting joints using natural rice glue and hand-carved wooden pegs.
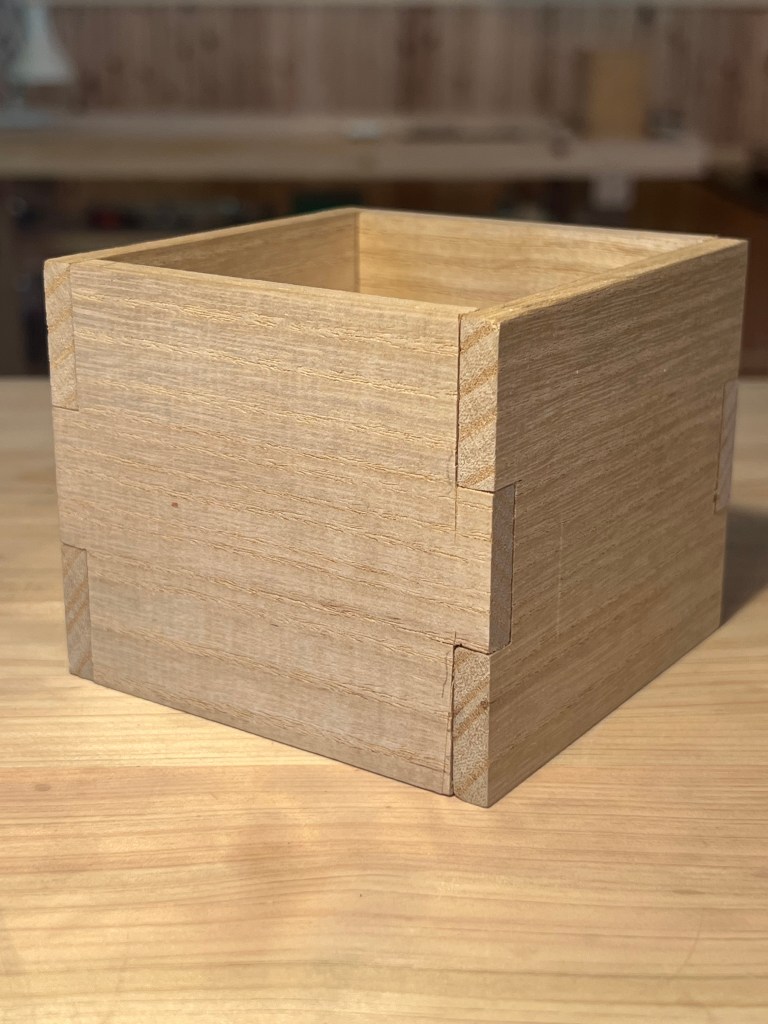
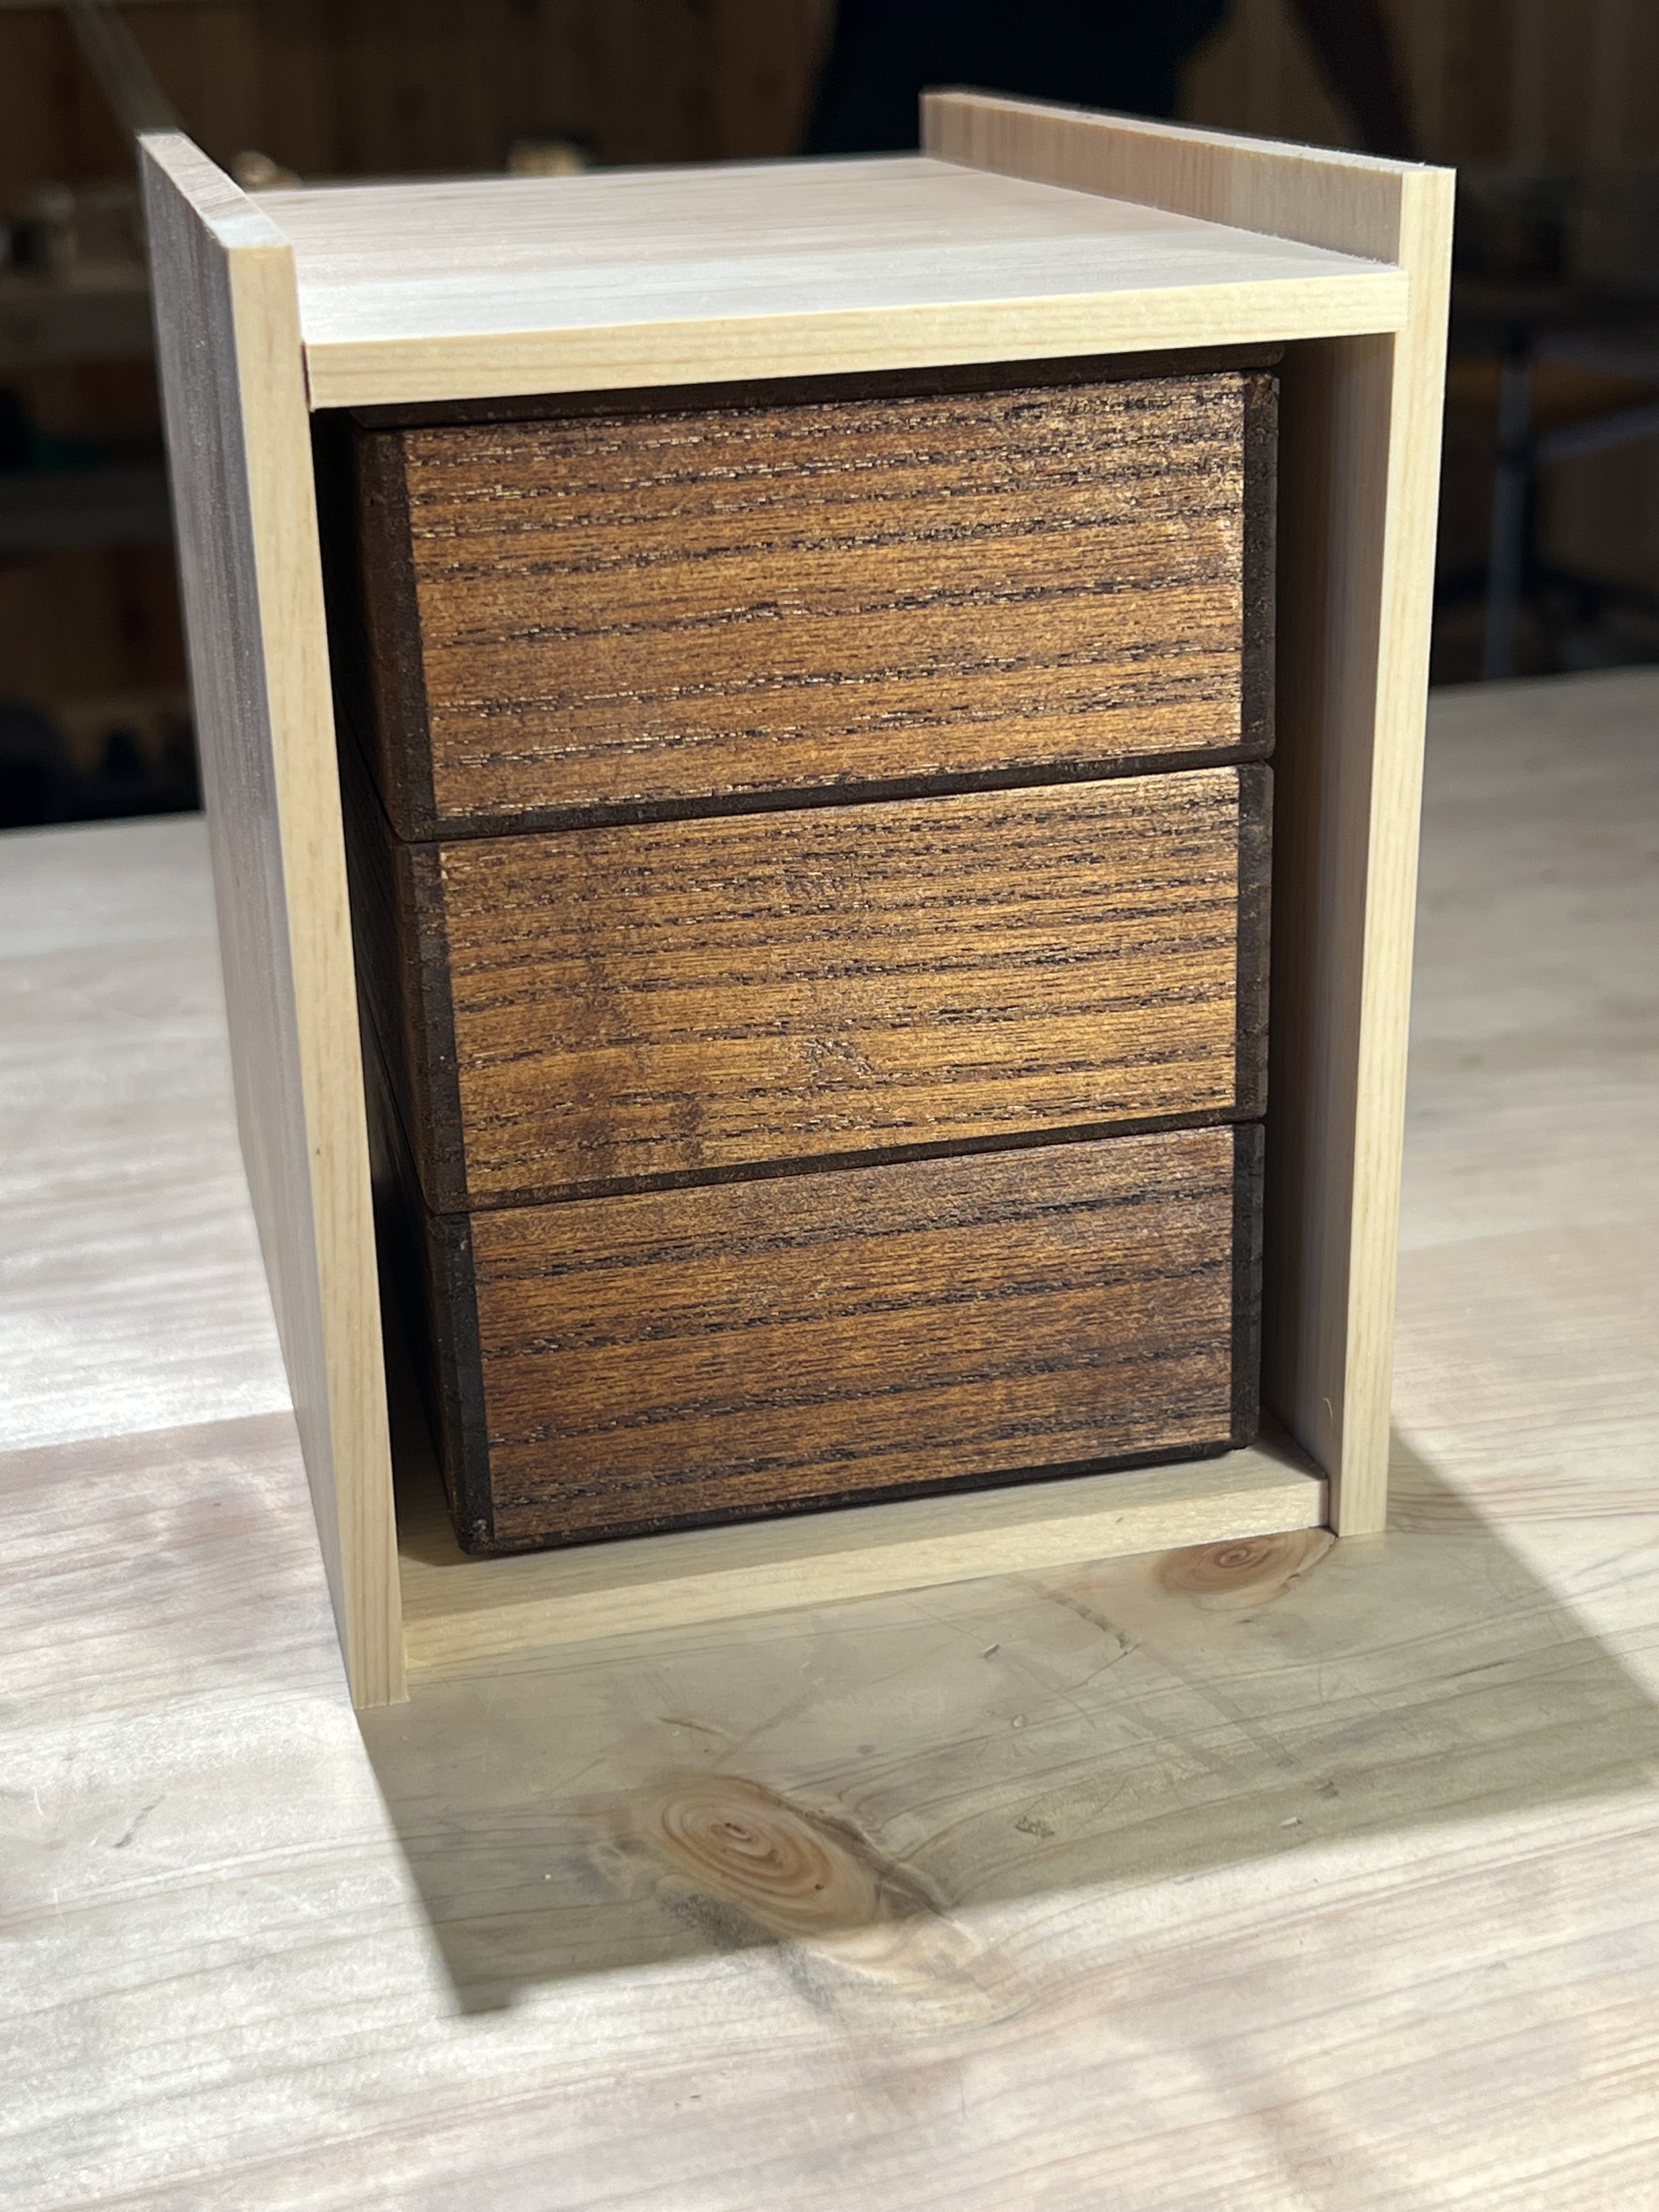
We are using Japanese Cypress (Hinoki) for the exterior portion of our project. It’s harder than Paulownia and will protect the interior boxes better. It’s also a beautiful wood to work with. Since this is a bento lunch box, it will be subject to some wear and tear over time. As strong as Paulownia is, it’s actually very soft on the surface and would become quite damaged over time. Boxes to protect teaware on the other hand, are typically left in storage, so using all Paulownia wood is suitable, and, in fact, desirable because of all the characteristics that Paulownia is known for; lightweight, durable, breathable, fire and water resistant, insect resistant, aesthetically pleasing, and on the list goes. I believe that is why Paulownia wood is traditionally left unfinished (meaning no waxes or oils, synthetic or natural) because they would probably inhibit Paulownia’s natural qualities.
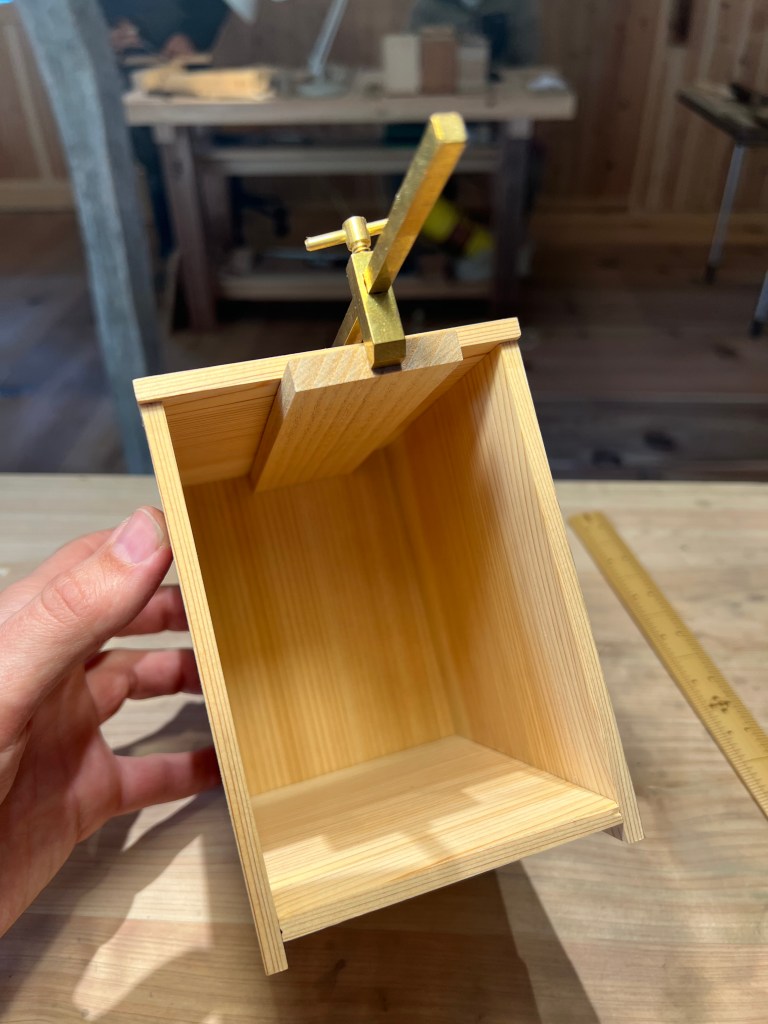
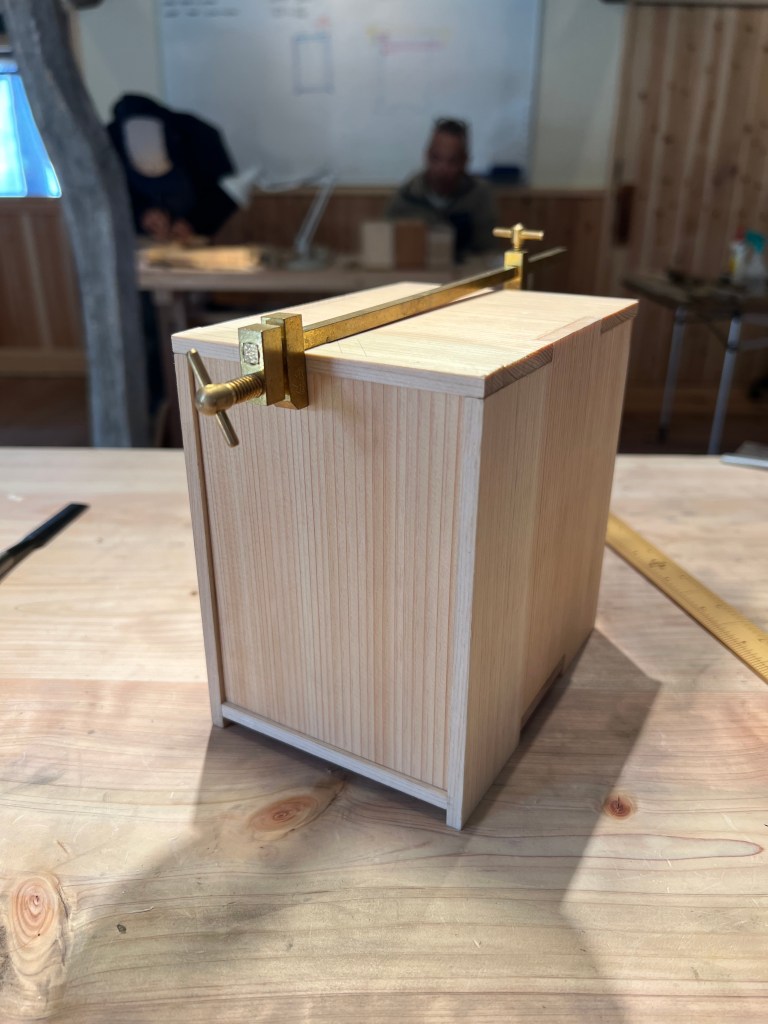
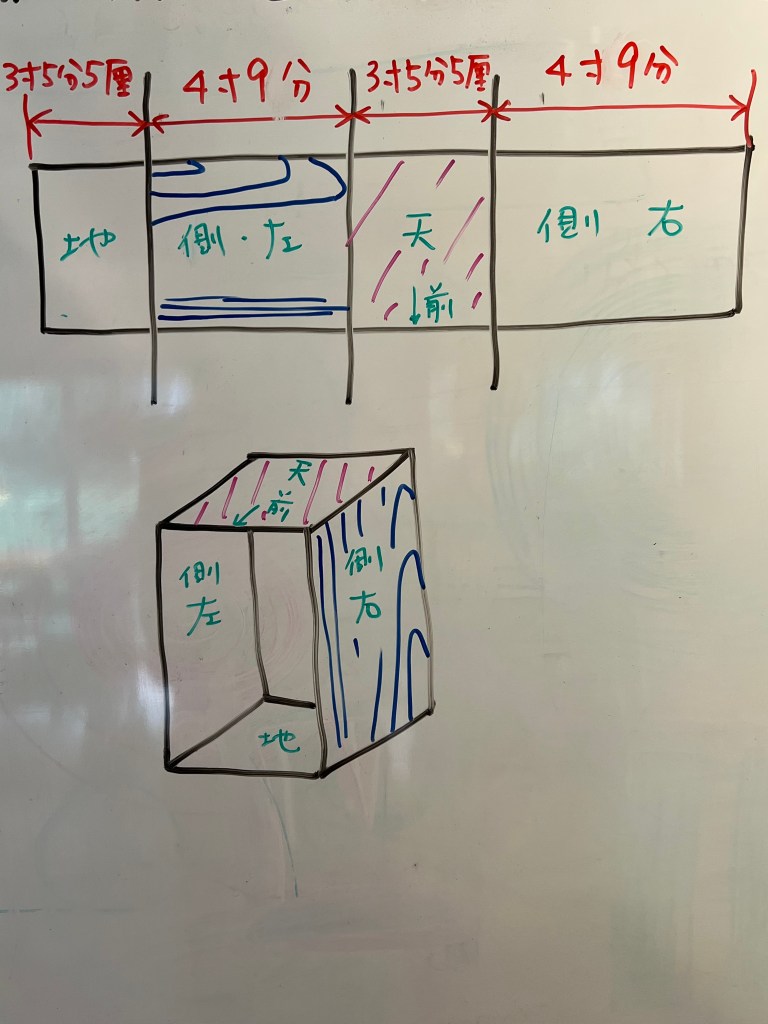
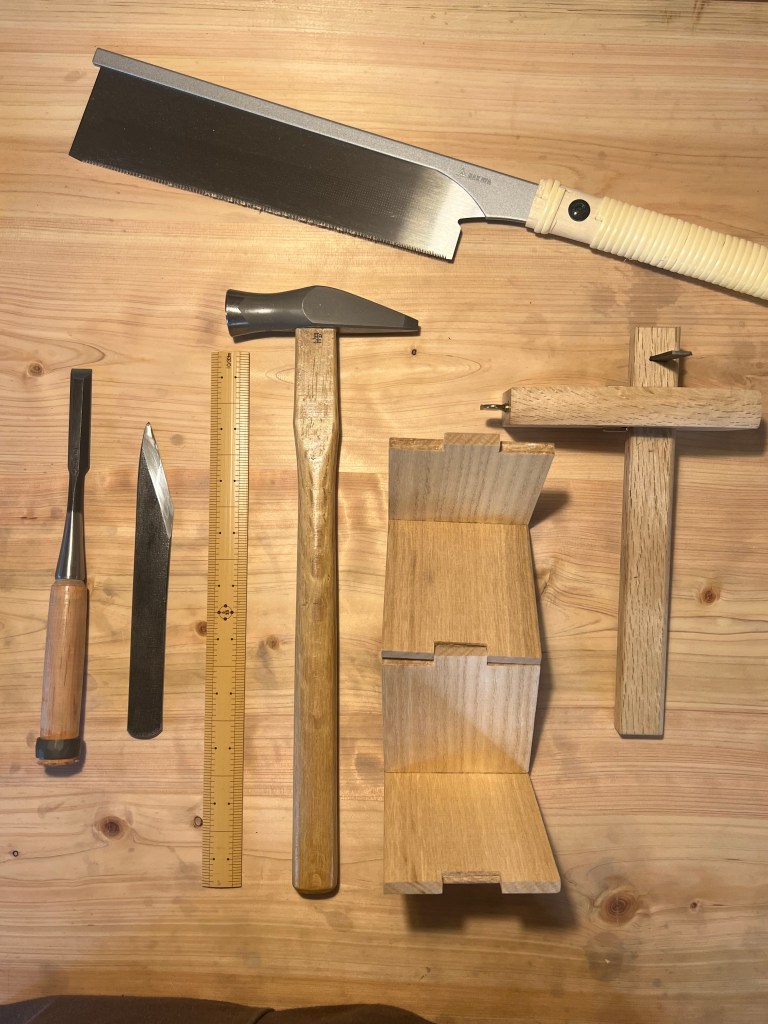
After cutting the joints and gluing-up the Hinoki exterior, we also made the front door (shown above), which slides into hand-carved chanels made with the marking gauge and a 3mm chisel. Very finicky work. Everything has to slide and fit into place perfectly. But with the help of our teachers and our finely tuned tools (“Instruments of the Way”), we all managed the work with patience and diligence.
The course is wrapping up fast. There is only one week left and we still have to attach the back panel, adjust the door to fit perfectly, carve and nail in the final wooden pegs, and finish the surface of our Hinoki box. Personally, I am completely ready and excited to tackle the coming week of work.

Leave a reply to darkquicklyc36a63d7f2 Cancel reply